
How to Build a Cabin Rental Gallery That Answers Guest Questions
By Direct Stay Solutions ·
The first photo should show why someone would choose your rental. The next few should answer what they’ll ask before booking: where everyone sleeps, what the kitchen includes, where they can sit outside, and what they can walk to. Send me your listing for a free preview and I’ll show which photo I’d lead with on your website.
Choose the cover that sells this cabin
I’d pick a picture that tells me what I’m booking. If the screened porch is the reason people come, show it in a wide shot where I can see how it connects to the cabin. Check the phone crop to make sure the porch stays in the frame. A photo from a public overlook belongs in the local guide if that view isn’t visible from the rental.
Put your most compelling photos first on your listing and website. If guests book for the back-porch view, lead with the view and the seating they’ll use. Follow it with a different reason to book, such as the screened front porch or the kitchen where everyone can eat. Move the practical arrival shots later unless parking or step-free access is a deciding feature.
Use sharp, high-resolution photos with natural color and enough light to see the room. If your current photos are dark, dated, or leave out the best feature, a professional vacation rental shoot is worth considering. Give the photographer a prioritized shot list and ask for wide crops for the website and crops that still work on a phone. Retake or replace photos when the view, furniture, or amenities change.
Put the opening photos in a useful order
Fictional example. A two-bedroom cabin has a private deck overlooking the lake and access to a shared pool. Here’s how I’d order the opening photos.
- Lake view from the private back porch, with the seating in the frame.
- Cabin exterior and front porch, so guests can picture arriving.
- Living room, showing where the group can sit together.
- Kitchen and dining table, with the fridge and cooking space visible.
- Queen bedroom, framed wide enough to show walking space and the closet.
- Twin bedroom, with both beds and the room layout visible.
- Bathroom, showing the toilet, sink and whether it has a tub or shower.
- A second back-porch photo showing the door from the living room and the space guests can use.
Follow with the parking-to-door route, guest storage, a neat shelf of included towels, and a close-up of the coffee setup. If a second bathroom or a separate entrance matters to your guests, photograph it too.
Put the pool in a separate shared amenities group, with a caption that says who can use it. Add a direct link to that group from the pool description.

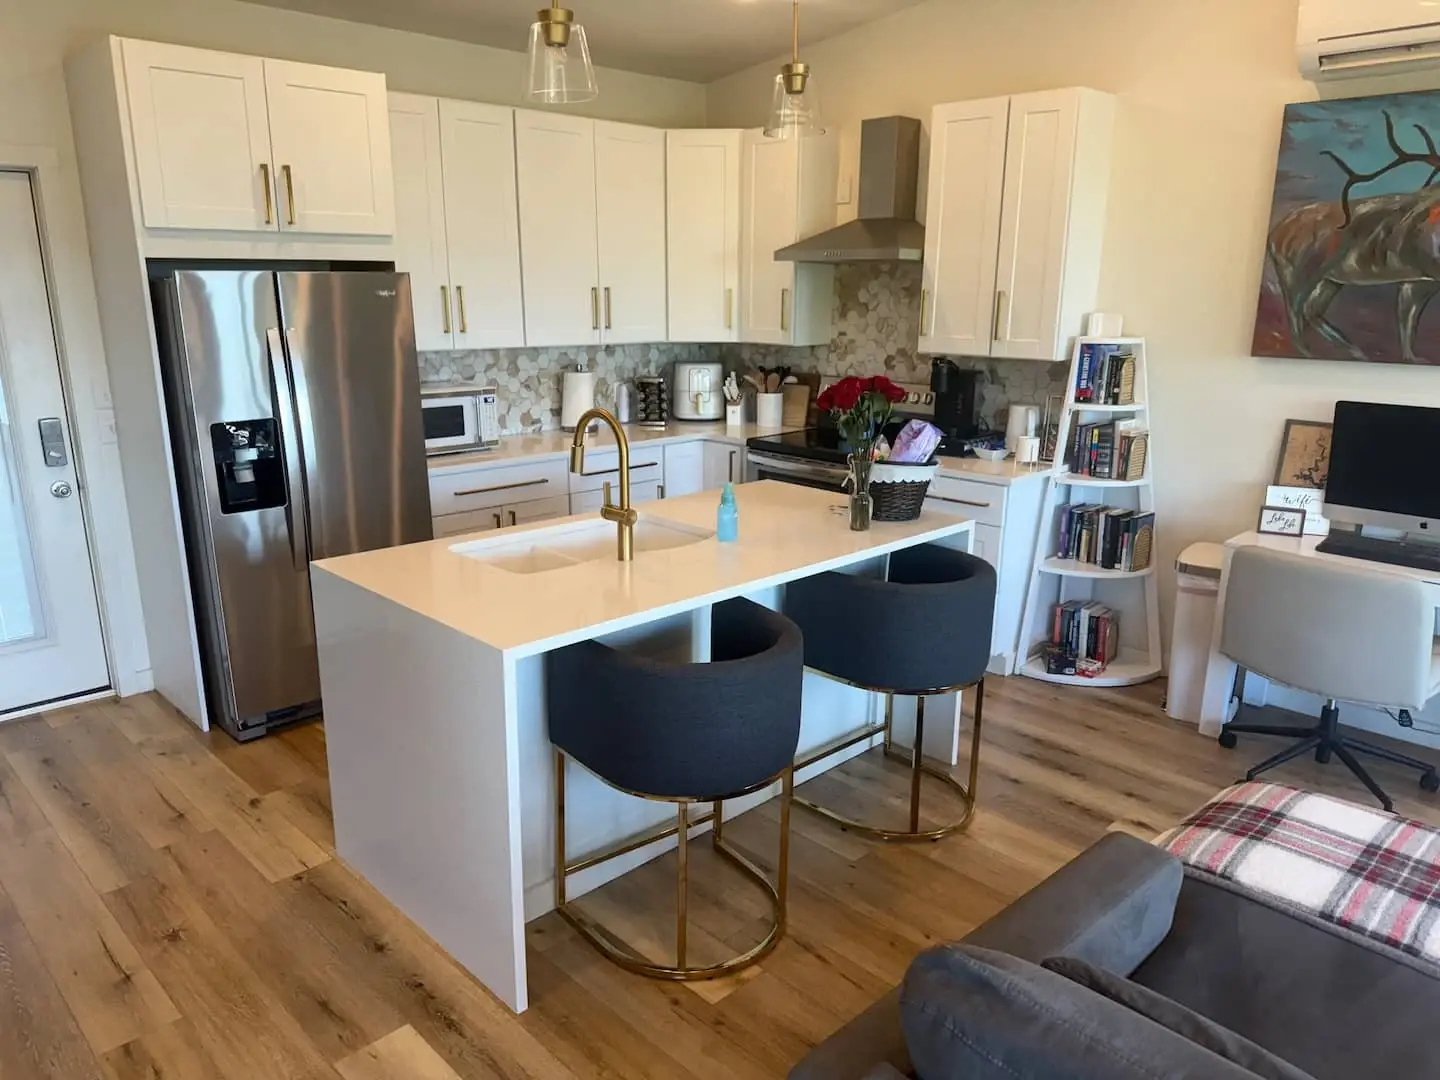
Caption the facts a photo can’t prove
Write a caption that answers one question the photo leaves open. Name the room or viewpoint, then add an accurate detail about access, what’s included, or how guests can use it. Use alt text to describe what the photo shows. Keep essential details visible in the caption and on the property page. Airbnb’s photo guide.

Sample captions to adapt to your property
- Kitchen: “Full-size refrigerator with an ice maker. The dining table seats four.”
- Coffee: “Drip coffee maker with filters and a starter supply of ground coffee. Mugs are in the cabinet above.”
- Bedroom and closet: “Upstairs queen bedroom, reached by stairs from the living room. This closet is available for guest storage.”
- Bathroom: “Main-floor bathroom with a walk-in shower. The second bathroom has a tub.”
- Towels: “Bath towels are included and stored on the open shelves beside the hall bathroom.”
- Porches and views: “Lake view from the private back porch, looking out from the living-room door. The front porch faces the driveway.”
- Shared amenity: “Outdoor pool shared with guests of the other cabins. Check seasonal hours before planning a pool day.”
Show how far it is to the places guests came for
If location helps sell the stay, put a small map or location panel near the gallery. Use the rental as the starting point, then mark two or three places your guests actually visit. Show the destination entrance, travel mode, and verified route distance. If you give a time, say it’s approximate and explain when traffic, events, or parking can change it. Use text below the map so the distances are easy to find on a phone.
Start at the townhouse’s front door and label each route on the map.
- Convention center, main entrance: 0.4 mile on foot, about 8 minutes.
- Restaurant district: 0.6 mile on foot, about 12 minutes.
- Airport terminal: 9 miles by car. Check traffic before leaving.
These are sample distances and times. For a real rental, verify each route and link to directions. If the exact address is given after booking, use an approximate public map pin and say what point the distances are measured from.
Test what happens when someone taps a photo
Use photo sizes that suit the screen, give the gallery room to load without shifting the page, and make the captions readable. If an image opens full screen, check that guests can close it on a phone and use the controls with a keyboard. Keep the booking link easy to find after they close the gallery.
Ask a first-time guest to explain the layout back to you
Ask where four people would sleep and whether they’d have the pool to themselves. Make the first wrong answer your next edit. If they thought a shared pool was private, move it out of the cabin’s room sequence and label it clearly. Use the cabin photography shot list if an angle is missing.
Send me your gallery
Sort the cabin gallery by the decision it answers
- First photo
- Show the main reason to choose the cabin.
- Layout photos
- Group bedrooms and bathrooms so guests know what belongs together.
- Arrival photos
- Keep the parking, path, and last steps in order.
Build a cabin gallery that does some of the work of a tour
At Direct Stay, we build a custom website around the photos and details that help guests choose your rental. We pick the cover for the first screen, organize the gallery by room and experience, and show the location and access clearly. Then we connect the property page to a compatible booking tool and test the path from the gallery to checking dates on a phone.
- Custom website and a recognizable brand. We use your property’s photos and story to build mobile-friendly pages that show guests what they’d be booking.
- Search visibility. We organize the pages around what guests look for and set up the technical SEO. The managed plan includes a monthly search review.
- Direct booking. We connect a compatible calendar, booking engine, or inquiry flow and check the handoff. Third-party software and payment processing may cost extra. Explore compatible booking tools.
- Website management. The managed plan includes hosting, security, backups, maintenance, and an SEO review. See plans and what’s included.
I’ll show you which picture I’d use first, which ones I’d move, and where I’d put the gallery and Check dates on your cabin page. Start with the photos you already have.
Meet Dane, founder of Direct Stay Solutions

Send me your listing and the feature guests mention most. I’ll show which photo I’d lead with, which details I’d caption, and how I’d take guests from the gallery to checking dates on a site of your own.