
Cabin Photography for Your Website: A Guest-Focused Shot List
By Direct Stay Solutions ·
If a guest keeps asking where they’ll park or whether the hot tub is private, pull up your cabin photos and try to answer with what’s there. You may have four pictures of the view and none that show how people get from the driveway to the front door. That tells you what to shoot next.
I’d start with one photo that makes someone want to stay, then get the angles that help them decide if the cabin works for them. Bring your last few guest questions to the shoot so you can check them off before the photographer leaves.
Turn real guest questions into camera angles
- “Can we park by the cabin?” Stand where the car stops and show the entrance, the path, and any stairs in the same frame. If a trailer can turn around, show the turning area separately.
- “Will the kids have their own room?” Shoot from the doorway so guests can see the bed arrangement and whether the room closes off. Photograph a loft from the stairs, too.
- “Is the hot tub private?” Take a wide shot that shows which deck it sits on. Put the answer in the caption. Do the same for a shared pool, dock, or fire pit.
Shoot the stay from arrival through checkout
Walk the cabin as if you just pulled in. Shoot the arrival, the way the living space connects to the kitchen, where everyone sleeps, and where they’ll spend time outside. Get a wide view that shows how each space works and a closer shot where a detail matters. Give the photographer time for both horizontal and vertical versions of the main scene, so the best feature stays in frame on a phone.

Show guests which spaces they’ll share
If two cabins share a dock, keep the cabin’s private deck and the shared dock in separate photos. Label each one where the picture appears. On a property with several rentals, start each cabin page with photos of that cabin and group shared amenities in their own section.
A 12-shot plan for a cabin that sleeps four
Here’s a fictional example. Cedar Bend Cabin has two bedrooms, one bathroom, a screened porch, and a private hot tub. A shared fire pit is down a short path. I’d give the photographer this list:
- A lead photo from the yard that shows the cabin and screened porch.
- The parking spot and the route to the entrance.
- The front steps and landing from a guest’s point of view.
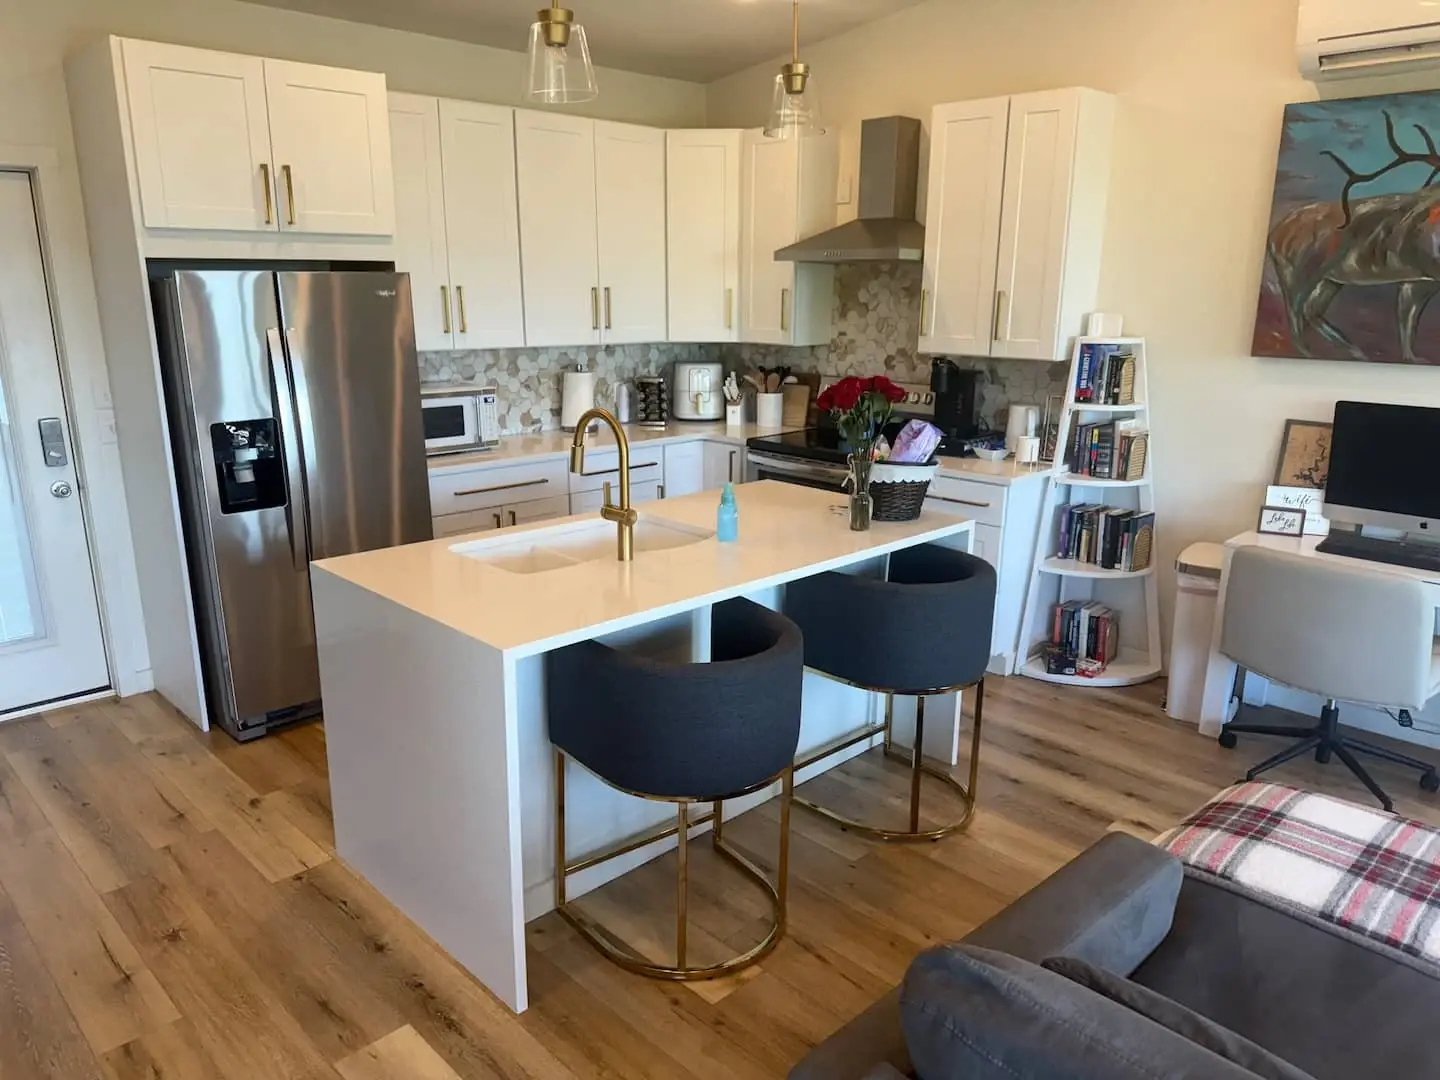
- A wide living-room photo that shows how it connects to the kitchen.
- The kitchen and dining setup, with all four seats visible.
- The main bedroom from the doorway.
- The second bedroom, showing both beds if it has twins.
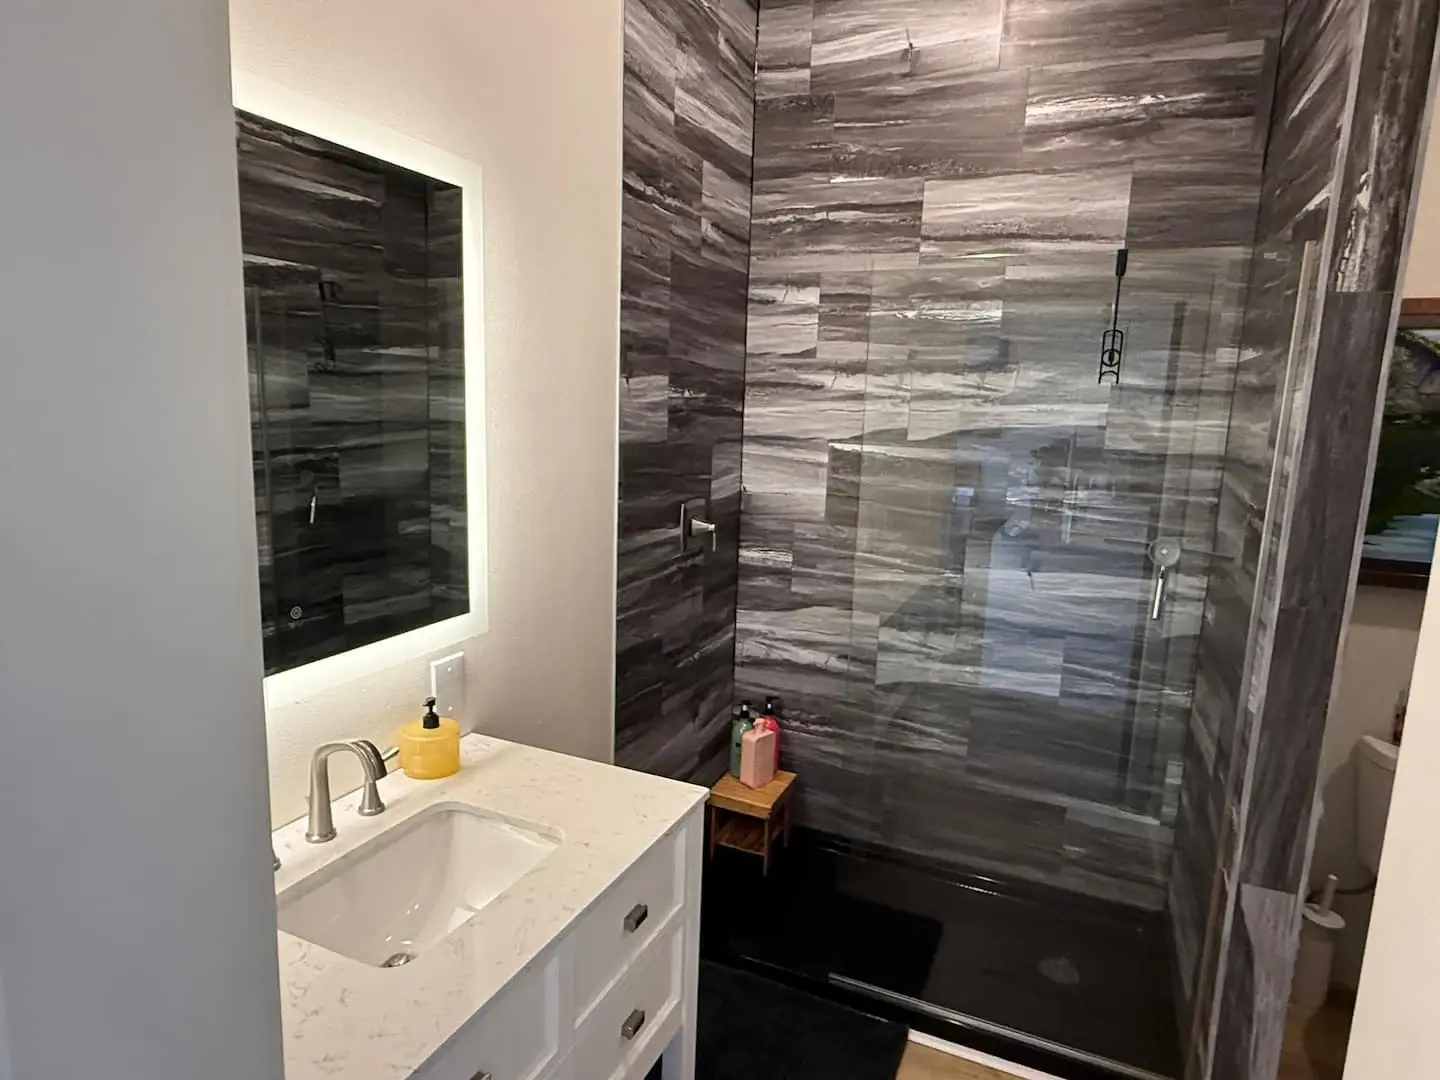
- The bathroom from the doorway, including the shower entrance.
- The screened porch set up for morning coffee.
- The hot tub in a wide shot that shows it sits on the cabin’s deck.
- The path from the cabin to the shared fire pit.
- The fire pit and seating, captioned as shared.
Adjust the list to your cabin. If guests come for step-free access, get the photos and verified measurements that let them judge the route. Before wrapping up, compare the photos with your guest questions and get another angle wherever the answer is still unclear.
Put the photos where guests make decisions
I’d use the porch photo at the top of Cedar Bend’s website, beside a short description and Check dates. I’d put the bedroom pictures next to the sleeping arrangements and the hot tub photo next to the line that says it’s private. Use a caption for anything the photo alone can’t explain. Write alt text that describes what’s visible, such as “Screened porch with four chairs at Cedar Bend Cabin.”
Run the gallery test on a phone
Ask someone who hasn’t visited to look through the gallery and tell you where they’d park, where four people would sleep, and whether the outdoor spaces are shared. If they guess, look for the photo or caption that would have answered the question. Check that the gallery still matches the cabin after renovations or changes to amenities.
If you have the right shots and need to put them in order, use the cabin gallery sequence. For what belongs beside the lead photo, see the vacation rental homepage checklist. For listing photography, see Airbnb’s host guidance.
Send me the photos you already have
Give your photographer a five-minute arrival brief
- From the car. Stand where guests park and take one wide frame showing the path to the door.
- At the turn. Shoot from a driver’s eye line and show the grade or narrowing.
- Inside. Stand in the doorway of each bedroom so guests can tell room layout and door privacy.
Put your best cabin photos where guests choose the stay
I’d use the photos you have to build a gallery that sells the stay and answers practical questions about layout, access, and shared amenities.
- Custom website and a recognizable brand. We use your property’s photos and story to build mobile-friendly pages that show guests what they’d be booking.
- Search visibility. We organize the pages around what guests look for and set up the technical SEO. The managed plan includes a monthly search review.
- Direct booking. We connect a compatible calendar, booking engine, or inquiry flow and check the handoff. Third-party software and payment processing may cost extra. Explore compatible booking tools.
- Website management. The managed plan includes hosting, security, backups, maintenance, and an SEO review. See plans and what’s included.
Send me your listing and the guest question you’re tired of answering. I’ll show you which photo I’d lead with, where I’d put the practical shots, and what I’d take next. If we build your site together, I’ll set up the gallery and put the booking step where guests can find it once they’ve seen enough to decide.
Meet Dane, founder of Direct Stay Solutions

Show me the photos you already have and a question guests keep asking. I’ll show which shot belongs first and which angles could make the stay easier to choose.